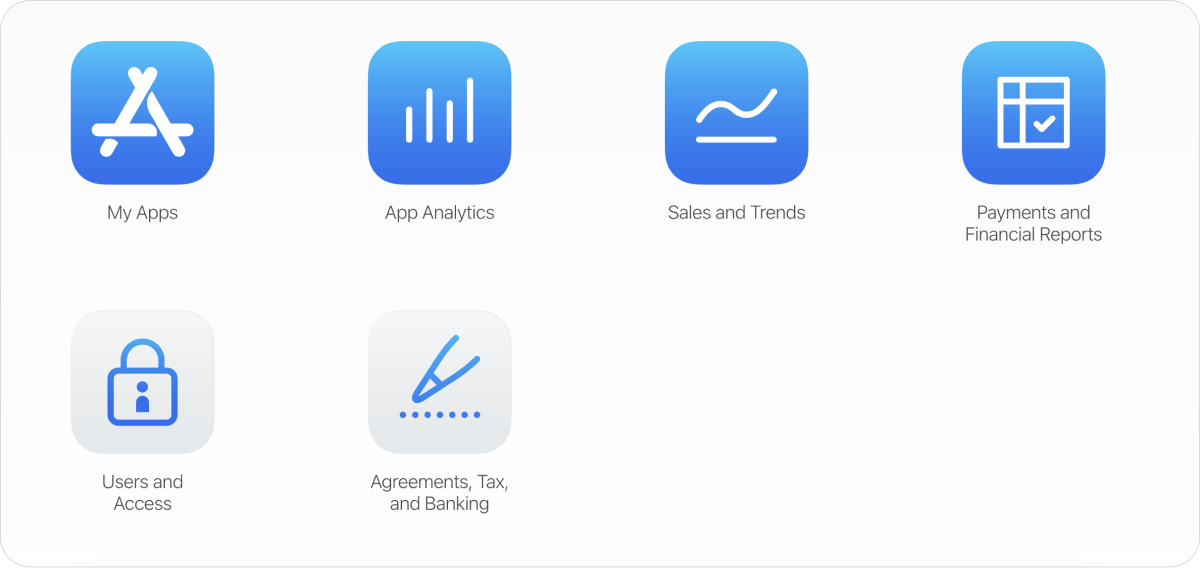
How to use app store connect which section it has and actually how it can help you in your app performance analysis and the main source of data. After entering App Store connect you get to the main page where different sections are:
My Apps Section
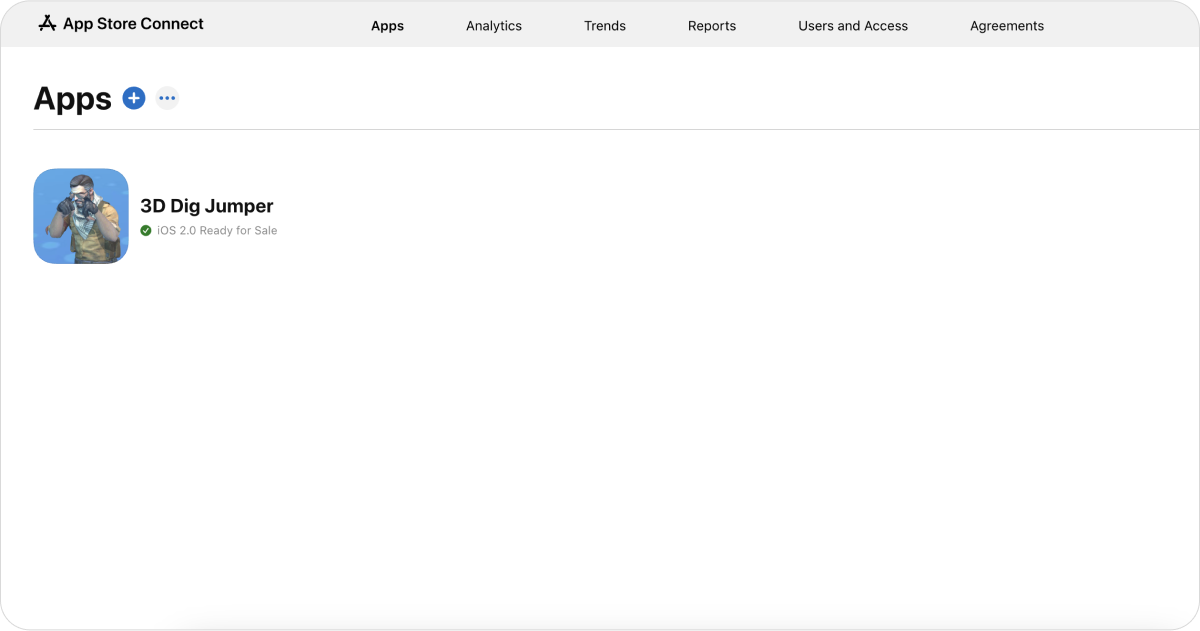
The first section we go to is “My apps” where you will see all the applications you have published in your developer account as well as you will be able to add a new application or a new bundle for the application which is already published on the App Store.
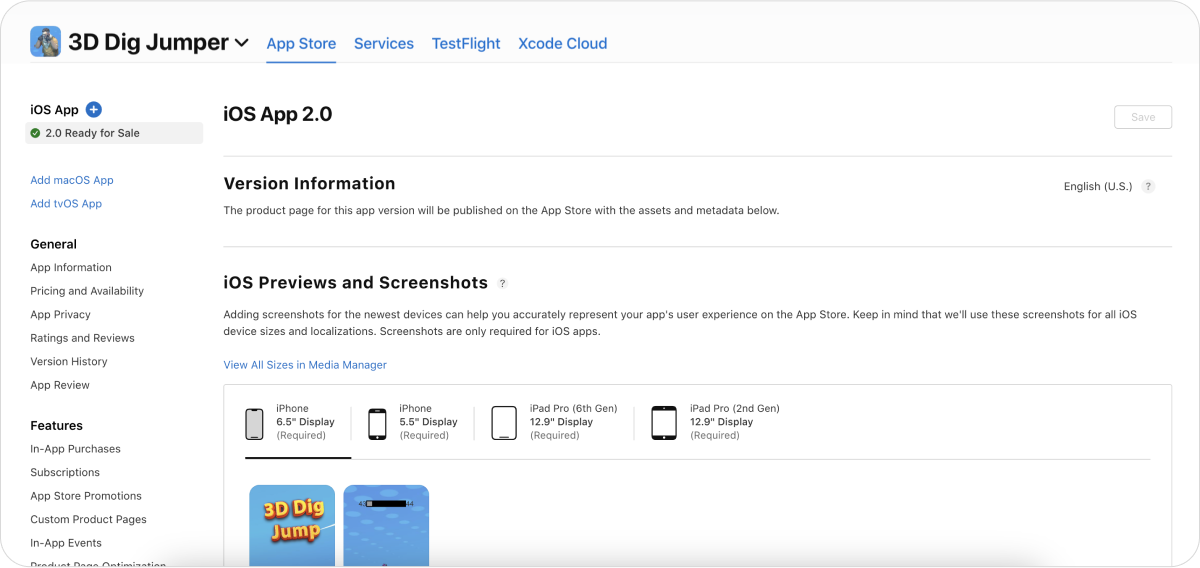
When we enter the in particular application the first information we see is some general information about the application and about the current version of the application. Here you can actually add the new version for your app. So as you may see here are the screenshots they actually are displayed for the country the app is localized for. Here you can change it if the application is localized for any other regions. As you may see different types and different sizes of screenshots are required by the App Store to be published for your application, like for different sizes of iPhones and for different sizes of iPads.
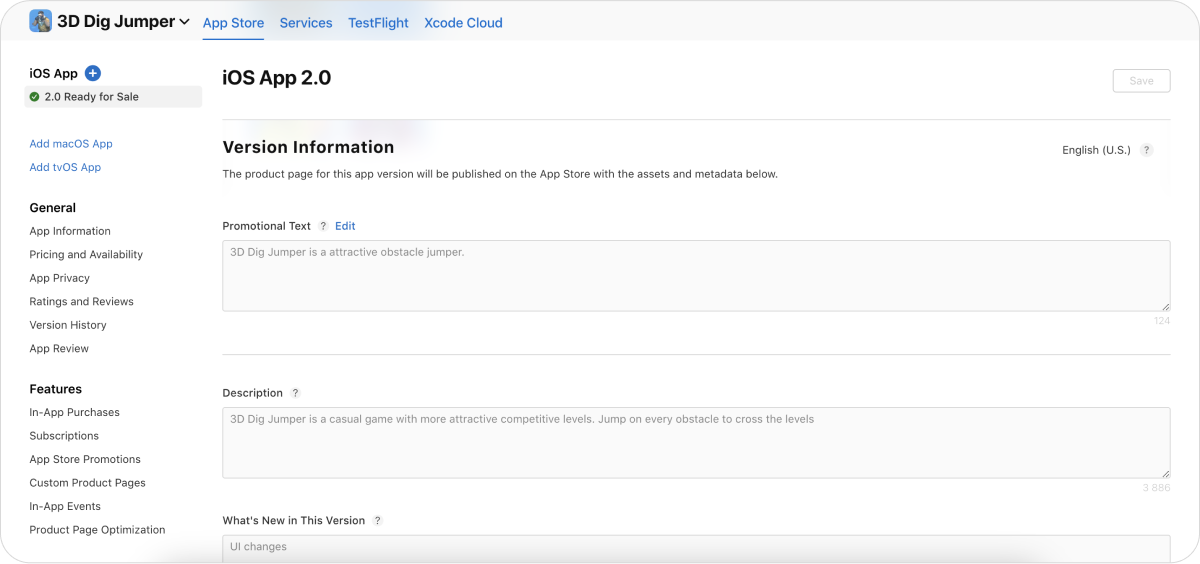
Promotional text which will be displayed about the description of your application and will inform the visitors of your application of any current app features.
Description it is like similar on Google Play but we remember the difference in ASO – that description on app store isn’t indexed and actually you could use the description only as a way to describe your application and the functionality it has but there is no sense in adding the keywords to the description text
What’s new in this version? For each version of your application which you add you need to add to the section which is called “what’s new” and actually mention the changes you have made.
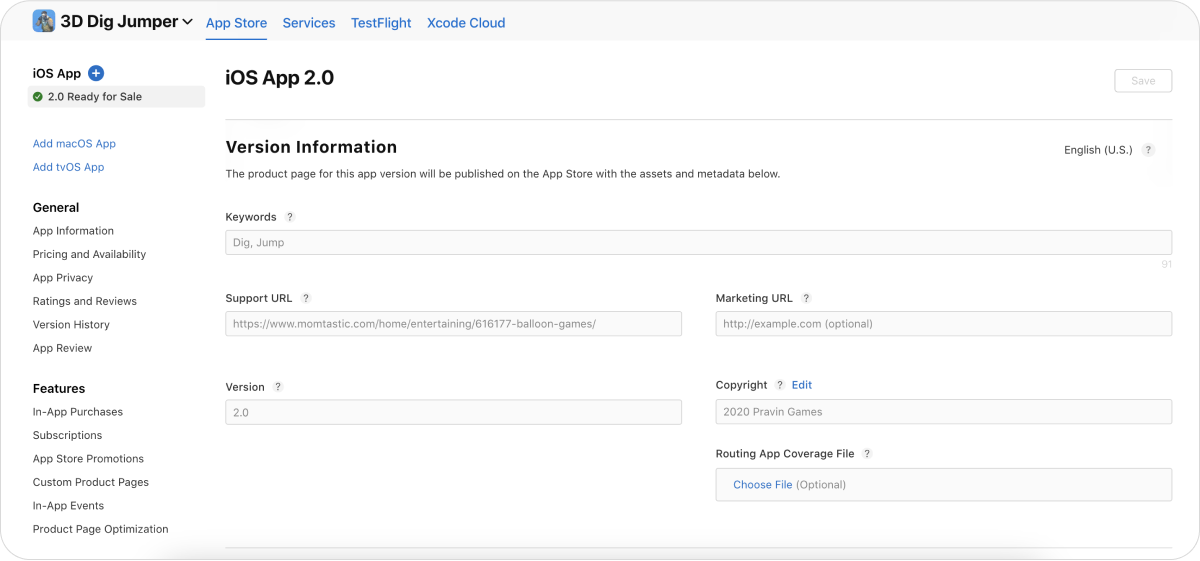
Keywords. It is one of the most important fields which is not seen to organic users and this thing only in app store connect but anyway here you should add all the keywords connected with your application to make the application findable by organic users in this search actually. Remember that the maximum number of symbols here is 100 and actually all the keywords should be divided by comma and there is no sense in repeating the same keywords.
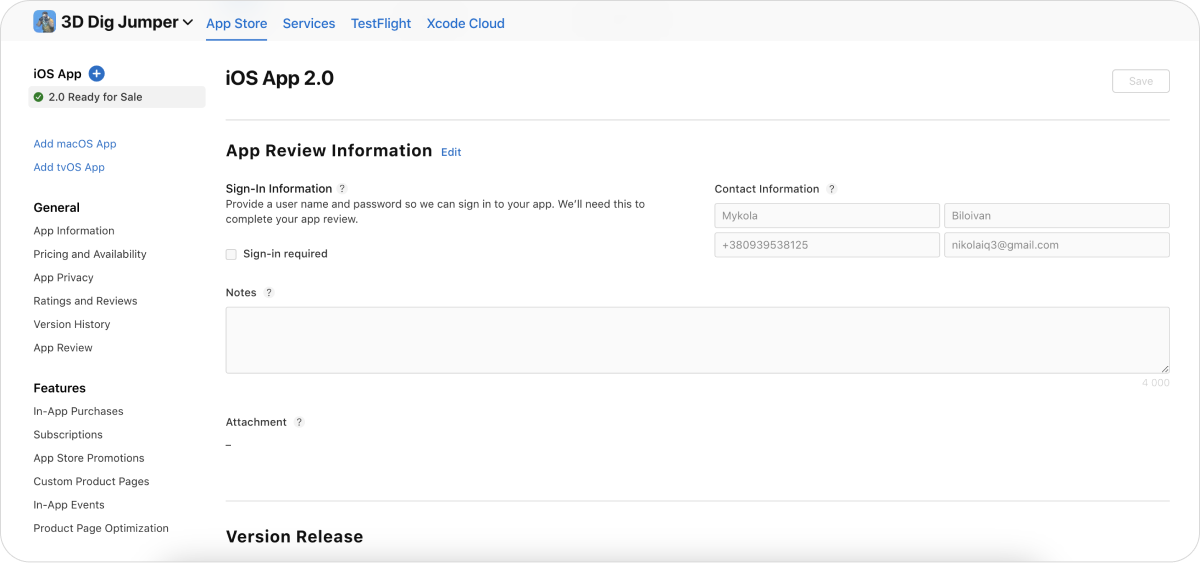
App review information which should be filled to give Apple the chance to contact you while they review the application. It is also important to remember that it is needed to provide a username and password so Apple could sign into your application to complete the review.
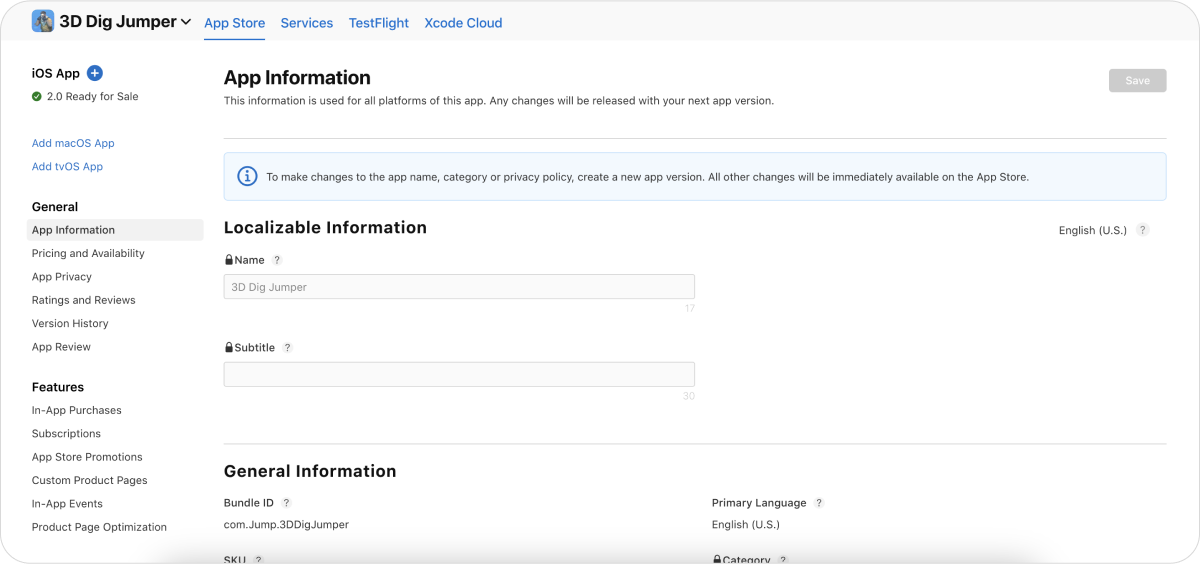
App information and it already consists of the app name, the title and subtitle, two text assets which are extremely important for the indexation process on the App Store. So here you can change the country as well and for each country you can add its own localized version. Here are some general information about your application like bundle ID, primary language, category which can be chosen so all the information about your application next
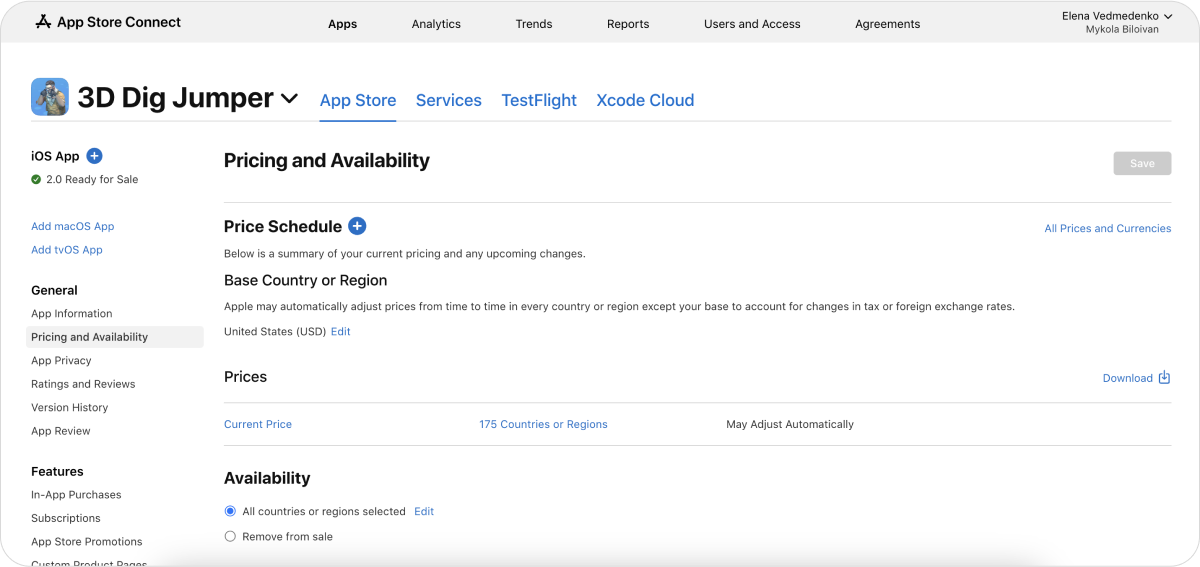
Pricing and availability where you can check your current pricing and actually any upcoming changes connected with the pricing are reflected there.
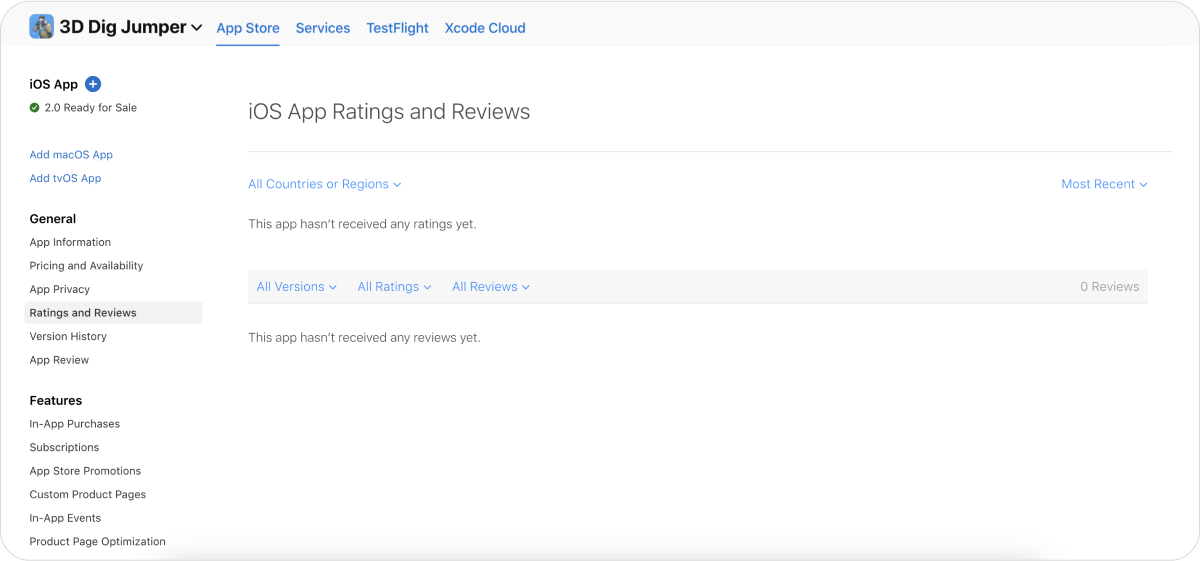
iOS App Ratings & reviews. On this page you work with app reputation and with feedback your application receives. Remember both ratings and reviews are divided on App Store depending on the region so here you can choose all countries to see all the reviews or you may choose some particular region you would like to check the rating and reviews for. There are also some filters and you may check the reviews for particular app version, you may check the particular reviews connected with stores and of course you may see the reviews with developer responses without them or the reviews which were actually edited by the users
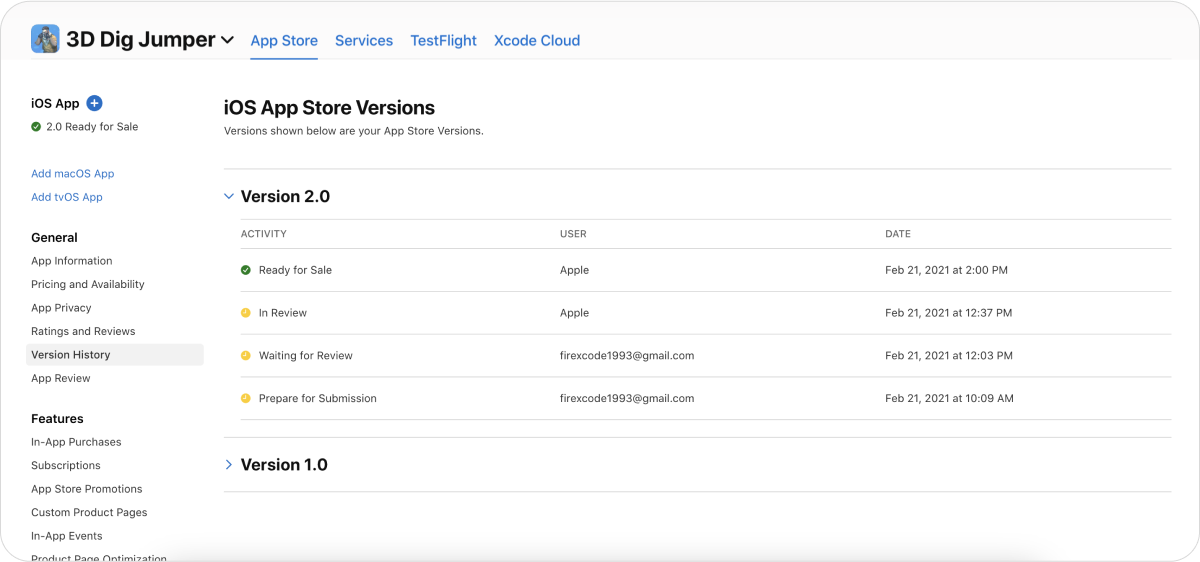
iOS App Store Versions. All the versions you have for your application will be displayed here with the history in dates and what actually were are going with the application within the particular period of time.
App review. If you submit some items which should be reviewed by App Store everything will be reflected here

In-app purchases. Remember in-app purchases allow customers to buy some content or some services within your application. So here you can add in-app purchases as you may see the first in-app purchase must best submitted with a new app version. Remember about this when you are going to add the first and approaches.

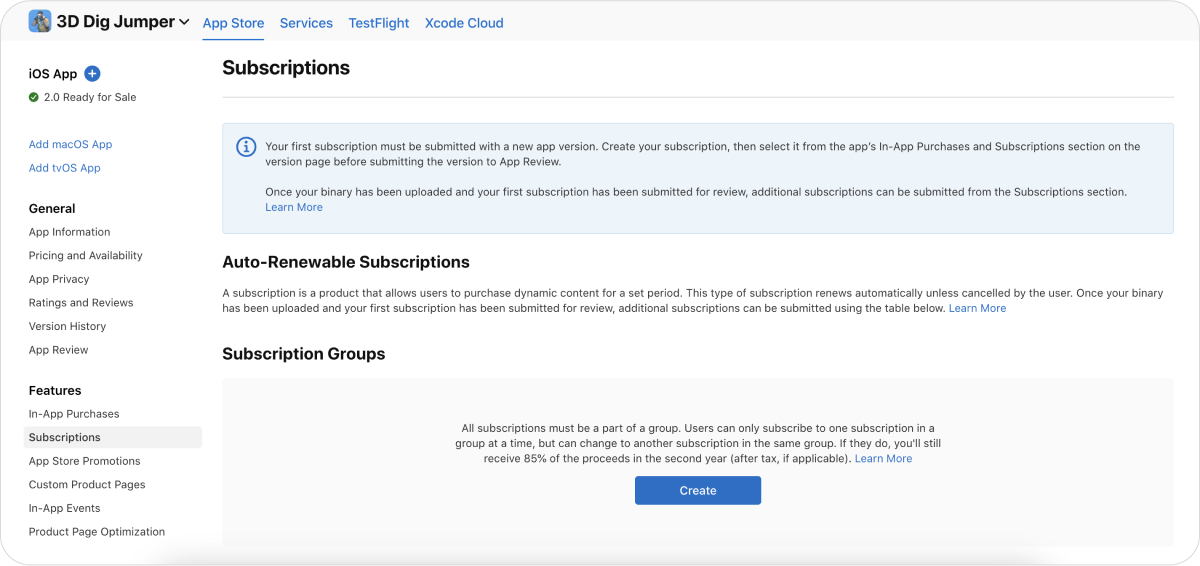
Subscriptions which also should be submitted with a new app version if you add it for the first time and actually subscription is renewable and provided for the particular period of time unless the user cancels it.
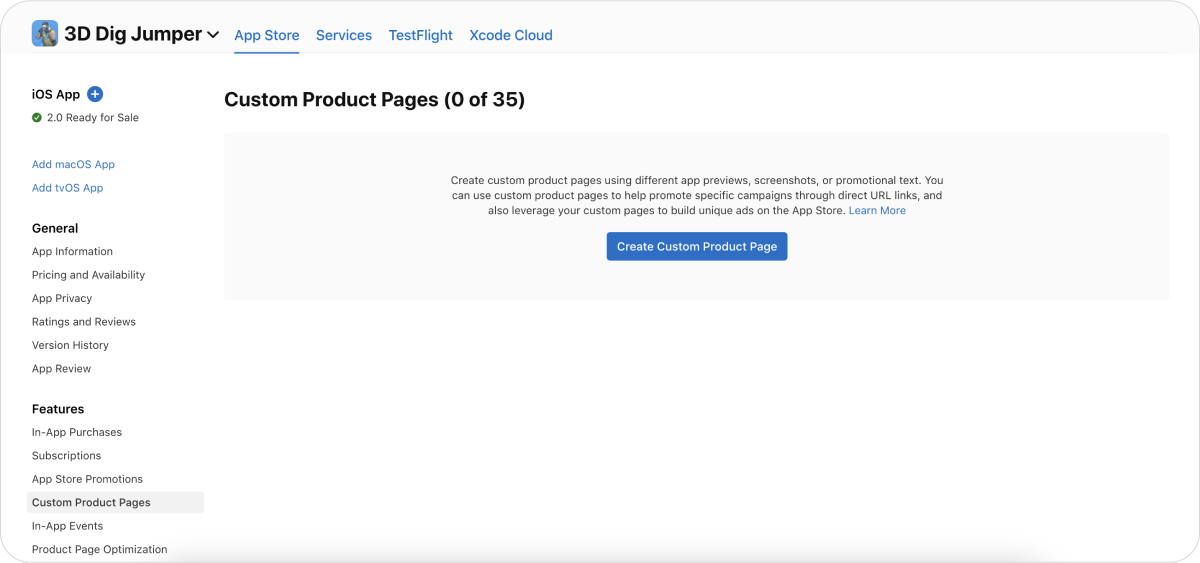
Custom product pages you can create on App Store up to 35 custom product pages and for each product page you may use different app previews, different screenshots and different promotional texts. For example with the aim to help in promotion of the specific campaign on app store.
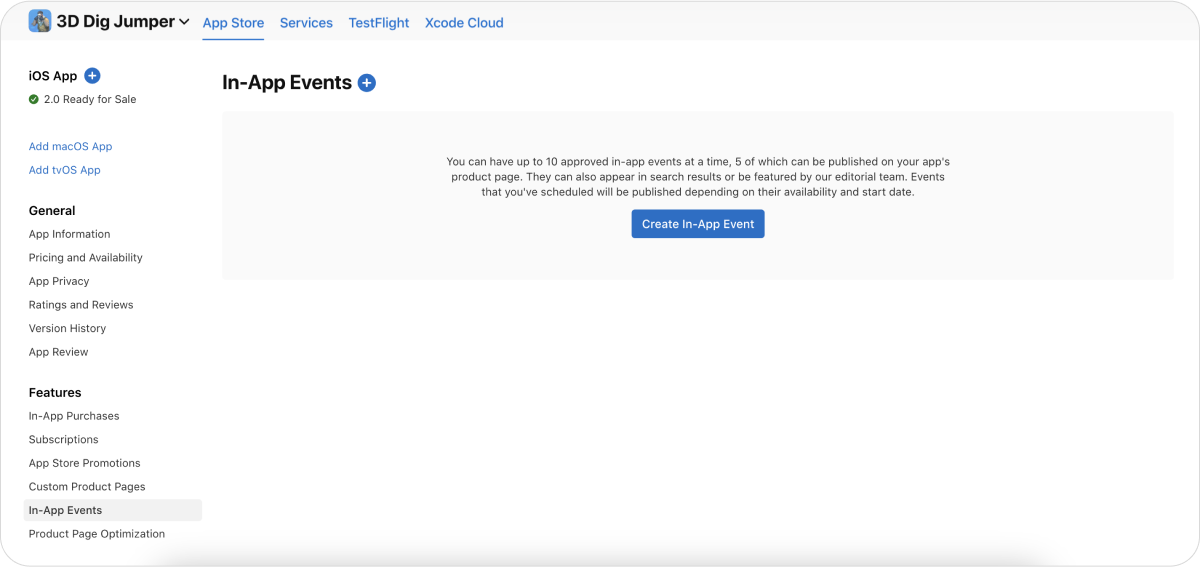
In app events. You can have up to 10 approved in app events and five of them may be published on your app’s product page. So actually in app events are timely events for your application which are connected with the particular news. For example like game competitions or the release of the particular game or the release of particular TV series.
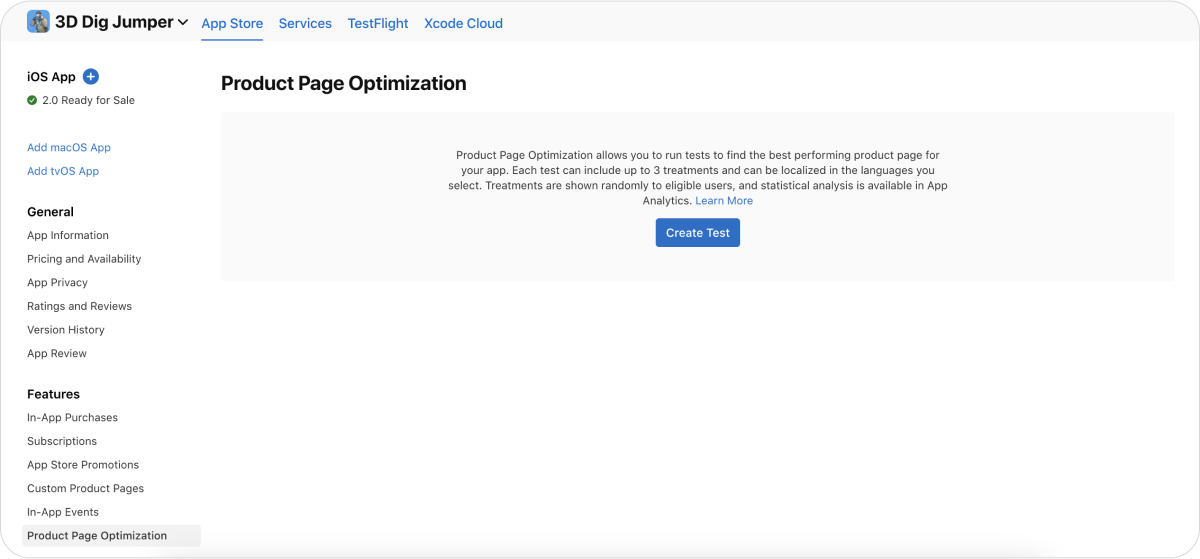
Product page optimization allows you to run a/b tests on App store to test different assets and get which one performs better and actually gives a higher conversion rate from view to download.
App Analytics Section
This section will help you to get the performance of your application. When you enter analytics you need to choose the application as well among the ones published. First of all here is the information about impression – how many times your app icon was seen on App Store, about product page views – how many times the product page was seen and conversion rate – how many users out of the ones who sell your application have downloaded it and of course total downloads.
Total downloads by territory. Here you can see the report connected with the amount of downloads from the particular country. So you can use some filters for example choose only first time the loads or redownloads or total downloads. We remember the total downloads include both first time downloads and redownloads.
Total downloads by source. Actually this table shows how many installed the application gets from the different sources and you can go to see this in more detail. You can use some filters as well like first downloads, redownloads. There are different sources of downloads on App Store – App Store browse, App referral and App Store search. All the information about your downloads will be reflected here according to the type and according to the source of course.
Total downloads by device. Here actually will be reflected how many users which use different types of iOS devices have downloaded your application like ipad, iPhone etc. The average retention rate of your application will be reflected here.
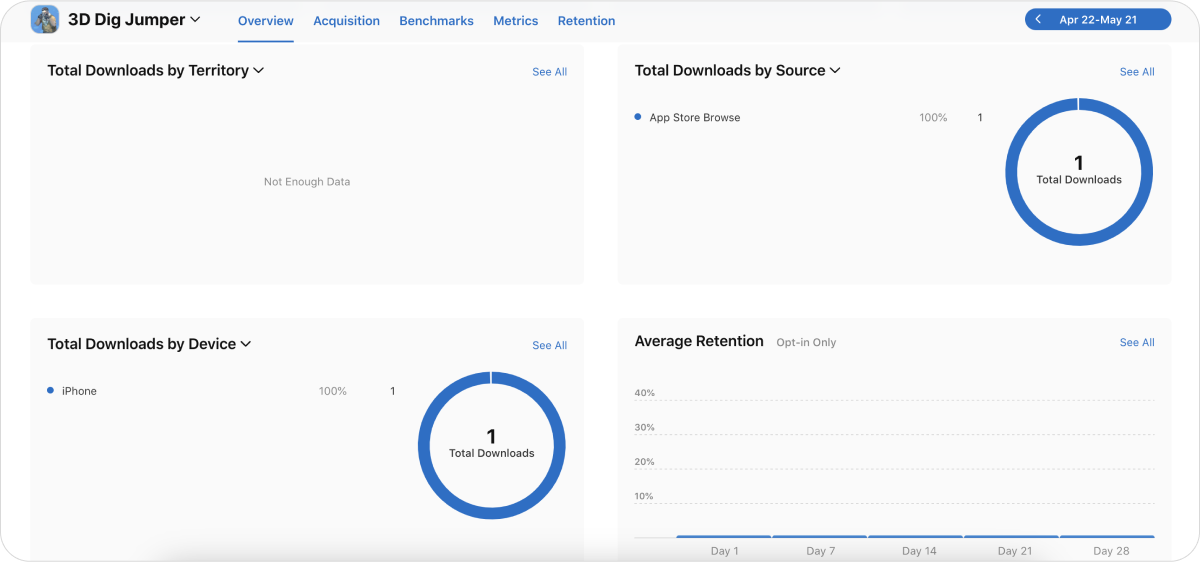
All these tables you can check in more details like to press “See all” and get this whole picture of the particular information you need for analysis.
Acquisition which is going after an overview where we had all these tables in a short format. It shows the product page views at this stage and you can choose what you need. The date can be change and you will see how many impressions for example the application for the particular period of time. Remember that “Impressions” shows impressions of the icon of your application. You can check how many users who went from browse has seen your app icon or from search or from any other sources.

Metrics. You can see the information by dates. You can choose what you need to check for example the same impressions, conversion rate, product page views and get the covered info according to this filter by dates for the period you have chosen.
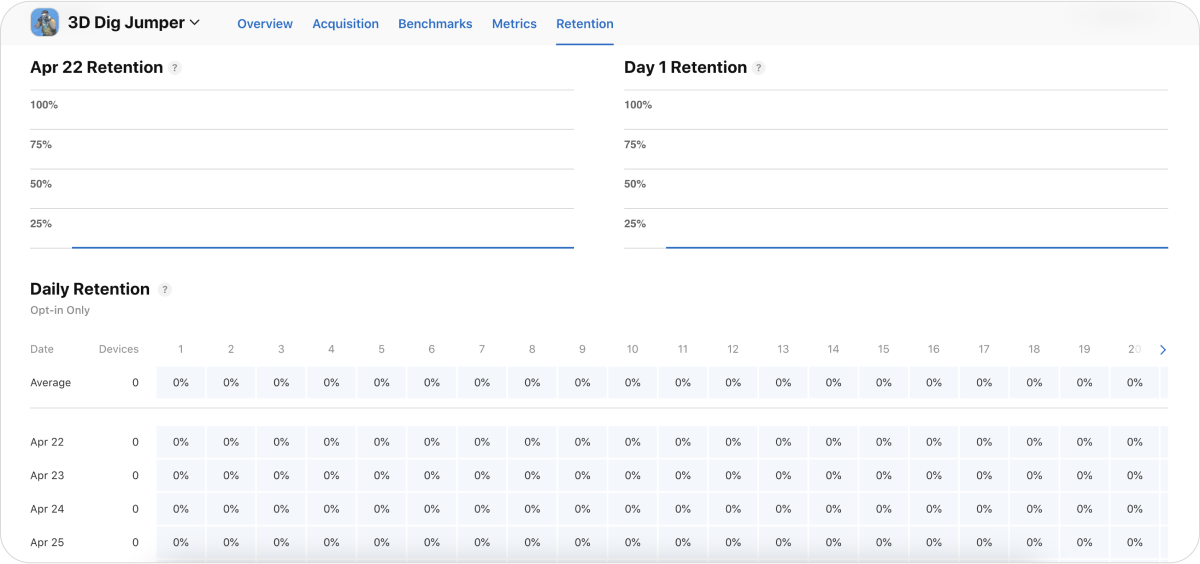
Retention. Help you to analyze how your users stay in the application and use it. Here you may see the two tables – with date and percentage of users that first installed the app on this date, which you have chosen right and used it on the following days. And the next table is day one retention – showed the percentage of users that used the app on the first day after the first installation. Daily retention shows the percentage of users that first installed the app on a given day and used it again the following day. So you can analyze how many devices installed the application on the particular date and how many of them used the application in the following days.

Sales and Trends Section
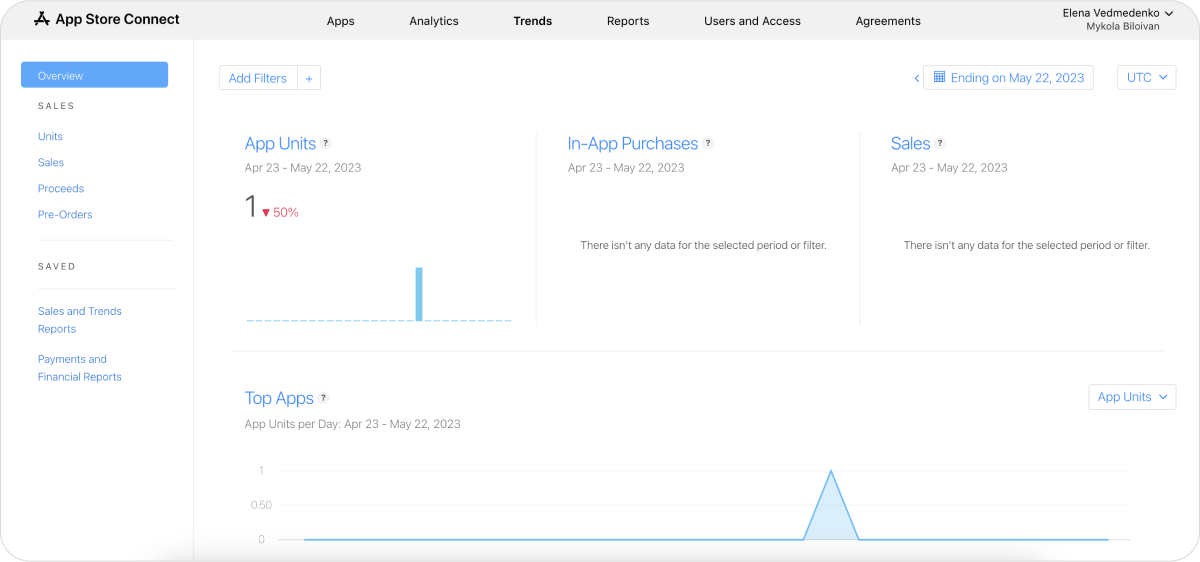
It can help you to analyze the sales your application has. In the bar on the left side you can actually check everything you would like to analyze like sales, proceeds, pre-orders. App units show the number of first-time app units across all your apps, in-app purchases – the number of in-app purchases and sales – the total amount built are to customers for purchasing apps. All the information about the sales may be analyzed actually in the trends section.
That was shortly about App Store connect just to show which section it has, how you can use it, which information actually you can analyze using different filters but anyway if you have some additional questions do not hesitate to contact us and we will be happy to talk about working with apple applications and with App Store Connect in more detail.